4 Reasons Why Your Roof Leaks Above Your Bathroom
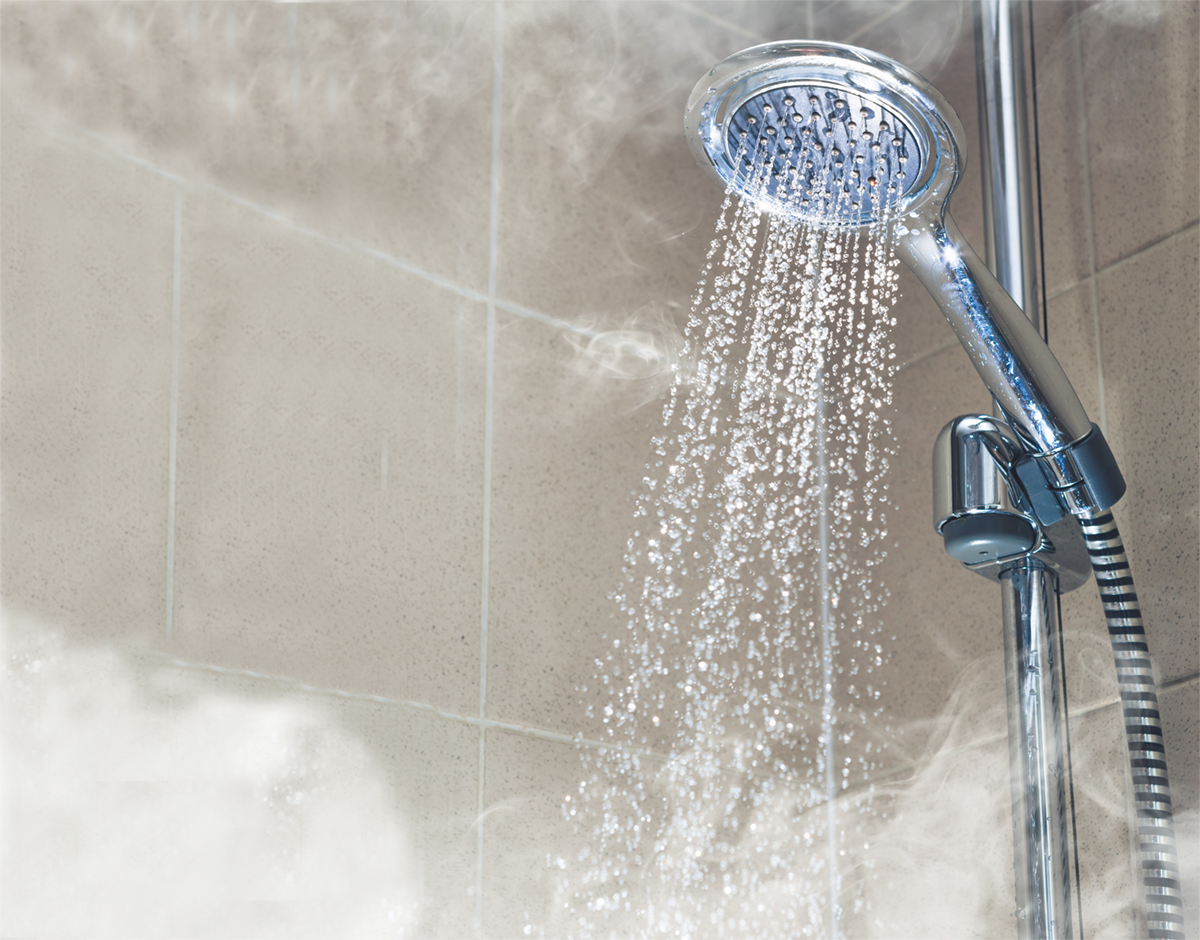 First off, your bathroom is like a humidity hotspot in your home. Every hot shower sends waves of warm, moist air floating up toward your ceiling. Over time, this moisture can work its way into your attic space if it’s not properly ventilated. When that warm, humid air hits your cold roof decking in winter, it condenses – just like water droplets on a cold drink on a summer day. This constant cycle of moisture can eventually lead to problems that look like roof leaks.
But here’s what many homeowners don’t realize – bathroom leaks often aren’t traditional roof leaks at all. The real culprit is usually one of these sneaky issues:
- Plumbing Vent Problems Your bathroom’s plumbing vent pipe runs right through your roof. Where that pipe exits, there’s a special rubber boot that seals it. After about 10 years, that rubber can crack and deteriorate, letting water trickle in around the pipe. It’s especially common in hot climates where the sun bakes that rubber seal.
- Exhaust Fan Venting Your bathroom fan needs to vent somewhere, right? Unfortunately, many fans are improperly vented into the attic instead of outside. This dumps all that shower moisture right into your attic space, leading to wood rot, mold, and what appears to be a leaking roof.
- Ice Dam Issues In colder climates, bathrooms can contribute to ice dam formation. All that warm, moist air rises and heats the roof above the bathroom more than other areas. This creates the perfect conditions for ice dams, which can force water back up under your shingles.
- Missing or Damaged Shingles The area above bathrooms often has more penetrations through the roof (for vents and fans) than other areas. More holes mean more potential weak spots where shingles might be damaged or improperly installed.
- First, don’t automatically assume you need a whole new roof.
- Have a qualified roofer inspect your plumbing boots, vent connections, and insulation.
- Make sure your bathroom fan is properly vented to the outside
- Check that your attic has adequate ventilation.
Our Guide Helps You With Your Insurance Claim After Storm Damage To Your Roof
As a homeowner, dealing with roof damage after a severe storm can be stressful and overwhelming. However, understanding how to navigate the insurance claim process can help you get the most out of your coverage and ensure your roof is properly repaired. Here are some of our best tips to maximize your roof insurance claim:
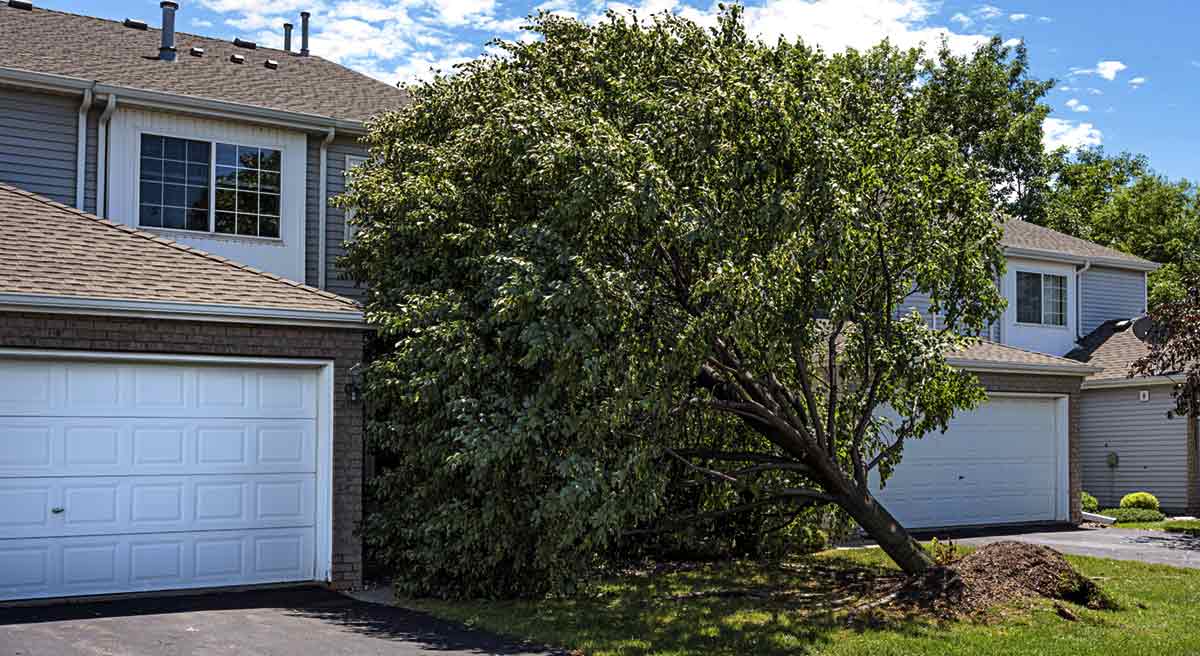
When a storm comes through and does damage to your roof, be sure to do the following:
#1. Document Everything
As soon as it’s safe to do so after the storm, document all visible damage:
- Take clear, date-stamped photos and videos of your roof from multiple angles
- Document interior damage caused by roof leak
- Keep a detailed list of all damaged items
This evidence will be crucial when filing your claim and can help prevent disputes with your insurance company.
#2. Act Quickly
Most insurance policies have a time limit for filing claims after damage occurs. Don’t delay in contacting your insurance company to start the claims process. Quick action also prevents further damage, which may not be covered if it’s deemed to result from neglect.
#3. Understand Your Policy
Review your insurance policy to understand what’s covered and what’s not. Pay attention to:
- Your deductible amount
- Coverage limits
- Any exclusions
Knowing these details will help you advocate for yourself during the claims process
#4. Get a Professional Roof Inspection
Hire a reputable, licensed roofing contractor to inspect your roof. They can:
- Identify all damage, including hidden issues
- Provide a detailed report and estimate for repairs
- Help ensure nothing is overlooked in your claim
Many roofing companies offer free inspections after storms.
#5. Be Present for the Insurance Adjuster’s Inspection
When the insurance adjuster visits:
- Be present during their inspection
- Share your documentation and the roofing contractor’s report
- Point out all areas of damage
- Ask questions about their findings
#6. Don’t Rush to Accept the First Offer
Insurance companies may initially offer a settlement that’s lower than what’s needed for proper repairs. If you believe the offer is insufficient:
- Request a detailed explanation of how they arrived at that amount
- Provide additional documentation if necessary
- Don’t be afraid to negotiate
#7. Consider Hiring a Public Adjuster
If you’re facing a complex claim or having difficulty with your insurance company, consider hiring a public adjuster. These professionals work on your behalf to:
- Evaluate damage
- Prepare and submit claims
- Negotiate with the insurance company
While they charge a fee (usually a percentage of the claim), they can often secure a higher settlement.
#8. Be Wary of Storm Chasers
After major storms, some unethical contractors may try to take advantage of homeowners. Be cautious of:
- Unsolicited offers for roof repairs
- Pressure to sign contracts immediately
- Requests for large upfront payments
Always verify a contractor’s credentials and get multiple estimates before agreeing to any work.
#9. Keep Detailed Records
Throughout the claims process, maintain thorough records of:
- All communication with your insurance company
- Estimates and invoices for repairs
- Any temporary repairs or out-of-pocket expenses
These records can be invaluable if disputes arise or if you need to file a supplemental claim.
10. Don’t Settle for Less Than You’re Entitled To
If you’re not satisfied with how your claim is being handled, you have options:
- Escalate the issue to a supervisor at your insurance company
- File a complaint with your state’s insurance commission
- Consult with an attorney specializing in insurance claims
Remember, you have the right to fair compensation for covered damages.
By following these tips, you can navigate the insurance claim process more effectively and increase your chances of receiving fair compensation for your storm-damaged roof. Always prioritize working with reputable professionals and don’t hesitate to seek help if you feel overwhelmed by the process.
If you have questions about your roof, or need a roof repair or replacement, give our office a call at 502-939-1983. We’d be happy to help you with a free roof inspection.
Don’t Fall for These Common Mistakes Often Made By Homeowners
Hi there, homeowners! If you’re considering replacing your roof, you’re about to make a significant investment in your home. But hold on a second – before you dive in, let’s chat about some common mistakes that could cost you big time. As a roofing expert who’s seen it all, I’m here to help you steer clear of these pitfalls.

When your roof needs to be replaced, use these 10 roofing tips to know what to look for.
- Skimping on quality to save a few bucks: I get it, roofing isn’t cheap. But trust me, going for the lowest bid or cheapest materials can be a disaster. You might save some money now, but you’ll pay later with repairs or an early replacement. Invest in a quality roof replacement for your home – your future self will thank you!
- Ignoring ventilation: Your attic needs to breathe, folks! Proper ventilation in your attic is really important for preventing moisture buildup. Proper ventilation also extends the life of your roof. Don’t let the roofing company you work with overlook the ventilation.
- Layering new shingles over old ones: It’s tempting to save time and money by just slapping new shingles on top of the old ones. Don’t do it. It’s like putting a Band-Aid on a broken arm. It doesn’t address what’s going on under those old shingles and will lead to bigger problems for you down the road.
- Forgetting about proper insulation: While we’re talking about your attic, let’s not forget insulation. Good insulation works hand-in-hand with your roof to keep your home comfortable and energy-efficient. A new roof is the perfect time to improve your insulation.
- Neglecting to check for structural issues: Before the new roof goes on, make sure your home’s structure can handle it. Sagging rafters or hidden water damage could spell trouble if not addressed first.
- Choosing the wrong type of roof for your climate: What works in sunny California might not cut it in snowy Minnesota. Make sure the roofing materials are designed for your local weather conditions.
- DIY-ing it without proper knowledge: Look, I admire a good DIY spirit, but roofing is not a weekend warrior project. Unless you’re a pro, leave this one to the experts. Your safety (and your roof’s integrity) is worth it.
- Not getting proper permits: Yes, paperwork is a pain. But skipping permits can lead to fines, issues with home sales, and even having to redo work. Do it by the book, folks!
- Failing to consider roof pitch and drainage: Water is your roof’s enemy number one. Make sure your new roof has the right pitch and drainage systems (such as gutters) to keep that water moving away from your home.
- Not doing your homework on contractors: Last but certainly not least, don’t just hire the first roofer you find. All roofers are not the same. Make sure they are local and provide a good warranty on their work. Check references, read reviews, and make sure they’re licensed and insured. A good contractor is worth their weight in gold (or should I say, in shingles?).
There you have it – ten roofing mistakes you’ll want to avoid. Remember, a new roof is a big deal. Take your time, do your research, and don’t be afraid to ask questions. Your home deserves the best protection possible!
If you have questions about your roof, or need a roof repair or replacement, give our office a call at 502-939-1983. We’d be happy to help you with a free roof inspection.
Trees around your roof can be both good and bad at the same time.
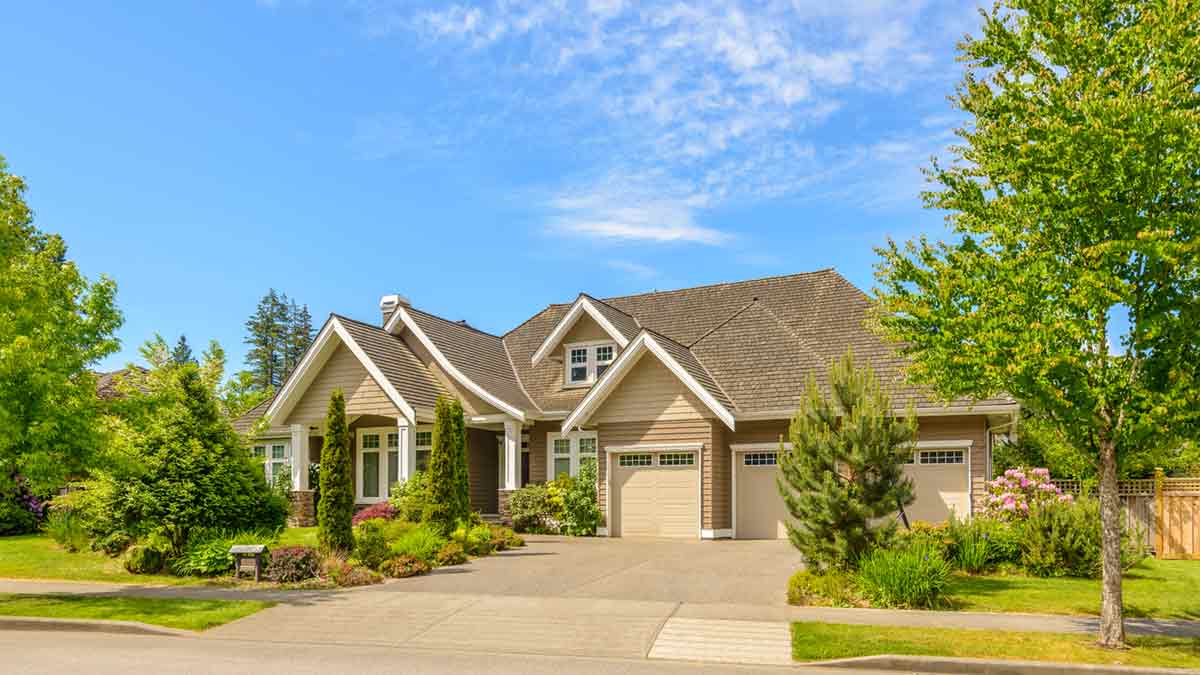
Trees can be a beautiful addition to any property, providing shade, improving air quality, and enhancing curb appeal. However, their proximity to your home can significantly impact your roof’s condition and lifespan. Let’s explore the various ways trees affect your roof and what you can do to protect your investment.
Positive Impacts of Trees on Roofs
Natural Shade and Temperature Regulation
Trees near your home can provide natural shade, which offers several benefits:
- Reduce direct sunlight exposure on your roof
- Lower attic temperatures in summer
- Potentially decrease cooling costs
Wind Buffer
Large trees can act as a windbreak, offering some protection:
- Reduce wind pressure on your roof
- Minimize the risk of shingle uplift during storms
Negative Impacts of Trees on Roofs
Falling Branches and Debris
One of the most significant risks trees pose to roofs:
- Heavy branches can cause severe damage if they fall
- Smaller twigs and leaves can accumulate, leading to other issues
Moisture Retention
Trees can contribute to moisture-related problems:
- Overhanging branches prevent sunlight from drying the roof
- Trapped moisture can lead to moss, algae, and mold growth
Gutter Clogging
Leaves and small debris from trees often end up in gutters:
- Clogged gutters can cause water to back up under shingles
- Overflow can lead to foundation issues and basement flooding
Root Damage
While less common, tree roots can sometimes cause problems:
- May damage underground pipes, leading to moisture issues
- In extreme cases, can affect the home’s foundation, impacting the roof
Preventive Measures to Protect Your Roof
Regular Tree Maintenance
Proper tree care is crucial for roof protection:
- Trim branches that hang over or near the roof
- Remove dead or diseased limbs promptly
- Consider professional arborist services for large trees
Gutter Cleaning and Maintenance
Keep your gutters in good condition:
- Clean gutters at least twice a year, more if you have many trees
- Install gutter guards to reduce debris accumulation
Roof Inspections
Regular roof checks can catch problems early:
- Inspect your roof after storms or high winds
- Look for signs of damage or excessive debris accumulation
- Consider professional inspections annually
Strategic Landscaping
Plan your landscaping with your roof in mind:
- Plant trees at a safe distance from your home
- Choose species that are less likely to drop leaves or branches
- Consider the mature size of trees when planting
When to Consider Tree Removal
Sometimes, removing a tree is the best option:
- If the tree is diseased, dying, or structurally unsound
- When roots are causing significant property damage
- If the tree poses an ongoing threat to your roof or home
Balancing Nature and Home Protection
The Eco-Friendly Approach
While protecting your roof is important, consider the environmental benefits of trees:
- Trees provide habitat for wildlife
- They improve air quality and reduce carbon dioxide
- Mature trees can increase property value
Finding Middle Ground
Aim for a balance between roof protection and maintaining trees:
- Regular maintenance can often mitigate risks without removal
- Consult with both roofing professionals and arborists for the best approach
Nurturing Trees While Protecting Your Roof
Trees and roofs can coexist with proper management. By understanding the impacts trees have on your roof and taking proactive measures, you can enjoy the benefits of a green landscape while ensuring the longevity of your roof. Regular maintenance, thoughtful landscaping, and timely interventions are key to striking this balance.
Making The Right Decision About Your Roof Will Save You Stress, Time and Money!
Are you standing in your yard, staring up at your roof, and wondering whether you need a simple repair or a full replacement? You’re not alone. Wondering whether their roof needs a repair or a replacement is one of the most common questions homeowners face when it comes to roofing issues. Let’s dive into the key factors that will help you make a good decision.

Signs That Your Roof Needs Attention
Before we discuss repair versus replacement, it’s important to look for & recognize the signs that your roof needs professional attention:
- Shingles that are cracked, missing, or curling
- Sagging areas on your roof
- Granules in your gutters
- Daylight visible through your roof boards
- Water stains on your ceilings or walls
If you notice any of these signs, it’s time to call us in.
Factors to Consider: Repair or Replace?
Age of Your Roof
The age of your roof is a critical factor in deciding between repair and replacement.
- Asphalt Shingle Roofs: Typically last 20-30 years
- Metal Roofs: Can last 50-75 years
- Tile Roofs: Often last 50+ years
If your roof is nearing or has surpassed its expected lifespan, replacement is often the wiser choice.
Extent of the Damage
Localized Damage
If the damage is confined to a small area, repair might be sufficient. Examples include:
- A few missing shingles
- Small leaks around chimneys or vents
- Minor wind damage
Widespread Issues
If problems are extensive, replacement is usually necessary. Look for:
- Multiple leaks across the roof
- Significant sagging
- Large areas of missing or damaged shingles
Cost Considerations
Sometimes, the cost of repeated repairs can outweigh the cost of a full replacement. Consider:
- The frequency of required repairs
- The cumulative cost of these repairs
- The potential for future issues
Energy Efficiency
Newer roofing materials often offer better energy efficiency. If your energy bills are high, a full replacement with modern materials could lead to long-term savings.
When to Repair
Choose a roof repair when:
- Your roof is relatively new
- The damage is minor and localized
- The rest of the roof is in good condition
When to Replace
Consider roof replacement when:
- Your roof is old and nearing the end of its lifespan
- Damage is widespread
- You want to improve your home’s energy efficiency or appearance
- You plan to stay in your home for many more years
The Importance of a Professional Roof Inspection
While these guidelines can help, nothing beats a professional inspection. A qualified roofing contractor like Full Guard Roofiing can:
- Assess the full extent of the damage
- Consider factors like your local climate and building codes
- Provide an accurate estimate for both repair and replacement options
Decision Time
Deciding between roof repair and replacement isn’t always straightforward, but understanding these key factors can help you make an informed decision. Remember, your roof is a main component of your home’s structure and your family’s safety. When in doubt, always consult with a professional roofing contractor.
By carefully weighing your options and considering the long-term implications, you can ensure that your home remains protected for years to come.
Skylights Have Such A Bad Reputation For Leaking
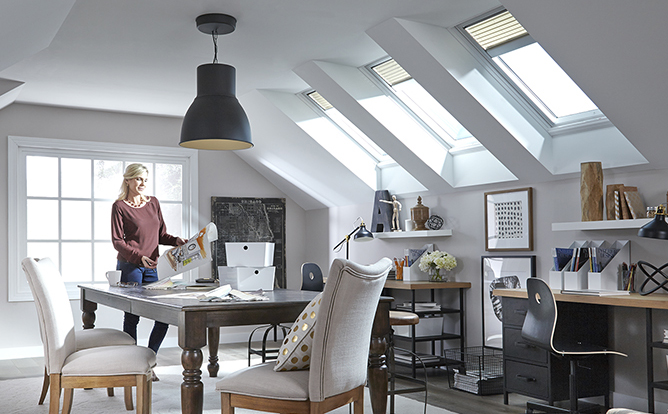
Skylights are a popular addition to many homes, offering natural light and a view of the sky, which can make any space feel larger and more inviting. However, they have gained a reputation for being prone to leaks, raising concerns for homeowners considering their installation. This article will delve into whether skylights always leak, factors contributing to leaks, and best practices for skylight installation to minimize such issues.
The Myth: Do Skylights Always Leak?
The idea that skylights always leak is a common misconception. While it is true that some skylights can develop leaks, it is not an inherent problem with all skylights. Several factors can contribute to leaks, but with proper installation and maintenance, these issues can be largely prevented.
Common Causes of Skylight Leaks
-
Improper Installation: One of the leading causes of skylight leaks is poor installation. If the skylight is not properly sealed or flashed, water can seep through gaps and cracks.
-
Age and Wear: Over time, the materials used in skylights can degrade, leading to leaks. This includes the seals, flashing, and even the glass itself.
-
Design Flaws: Some skylights may be more prone to leaks due to their design. For instance, flat skylights are more likely to collect water than domed skylights.
-
Roofing Issues: Problems with the roof itself, such as damaged shingles or inadequate slope, can also contribute to skylight leaks.
Best Practices for Skylight Installation
To ensure your skylight remains leak-free, it is essential to follow best practices during installation. Proper planning and execution can significantly reduce the risk of leaks.
Choose the Right Type of Skylight
There are various types of skylights, each with its own advantages and potential drawbacks. Choosing the right type for your home and climate is crucial.
-
Fixed Skylights: These are non-operable skylights that are generally less prone to leaks compared to vented skylights.
-
Vented Skylights: These can be opened for ventilation but may have a higher risk of leaks if not properly installed and maintained.
-
Tubular Skylights: These are smaller and less likely to leak, as they have fewer seams and a simpler design.
Professional Installation
Hiring a professional for skylight installation is highly recommended. Professionals have the expertise and experience to ensure that the skylight is installed correctly, minimizing the risk of leaks.
-
Proper Flashing: Flashing is a crucial component of skylight installation. It involves installing a watertight barrier around the skylight to prevent water from seeping in.
-
Quality Sealing: Using high-quality sealants and ensuring that all seams and joints are properly sealed is essential for preventing leaks.
-
Correct Placement: The location of the skylight on the roof can impact its susceptibility to leaks. Avoid installing skylights in areas with heavy water flow, such as near valleys or gutters.
Regular Maintenance
Even the best-installed skylights require regular maintenance to remain leak-free. Periodic inspections and upkeep can help identify and address potential issues before they become major problems.
-
Inspect Seals and Flashing: Regularly check the seals and flashing around the skylight for any signs of wear or damage.
-
Clean the Skylight: Keeping the skylight clean can prevent debris from accumulating and causing damage or blockages.
-
Check for Condensation: Excessive condensation inside the skylight can indicate a problem with the seal or insulation.
They Don’t Always Leak!
Skylights do not always leak, but they require proper installation and maintenance to remain trouble-free. By choosing the right type of skylight, ensuring professional installation, and performing regular maintenance, homeowners can enjoy the benefits of natural light and sky views without the worry of leaks. When installed and cared for correctly, skylights can be a beautiful and functional addition to any home.
Choosing the right shingle for your home
When it comes to residential roofing, homeowners are often faced with numerous choices. One of the primary decisions involves selecting the right type of shingles for your home. The two most common options are 3-tab shingles and dimensional shingles. In this article, we’ll explore the differences between these two types of shingles, helping you make an informed decision for your roofing needs.
What are shingles, anyway?
Shingles are a type of roof covering consisting of individual overlapping elements. These elements are typically flat, rectangular shapes laid in courses from the bottom edge of the roof up, with each successive course overlapping the joints below. Shingles are made from various materials, including asphalt, wood, metal, and more. In residential roofing, asphalt shingles are the most popular due to their affordability, ease of installation, and durability.
3-Tab Shingles
Appearance and Design
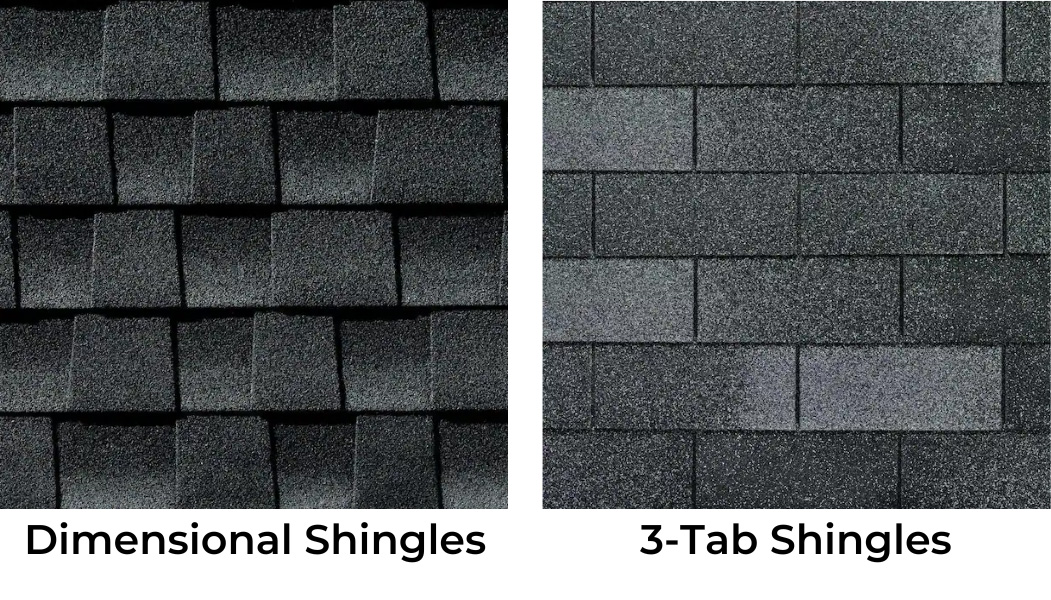
3-tab shingles are named for the three uniform cutouts, or tabs, made along their lower edge. This design gives the roof a flat, uniform look. Each shingle looks like three separate pieces when installed but is actually one single piece.
Durability and Lifespan
3-tab shingles typically come with a warranty of 20-30 years, but their actual lifespan can be shorter depending on the weather conditions and maintenance. They are generally less durable than dimensional shingles due to their thinner structure.
Cost
One of the main advantages of 3-tab shingles is their cost-effectiveness. They are cheaper to manufacture and purchase, making them a popular choice for budget-conscious homeowners.
Dimensional Shingles
Appearance and Design
Dimensional shingles, also known as architectural or laminated shingles, have a more varied and textured appearance. They are made with two or more layers of asphalt, giving them a thicker, more substantial look. This design can mimic the appearance of more expensive roofing materials, such as wood or slate.
Durability and Lifespan
Dimensional shingles are more durable than 3-tab shingles due to their layered construction. They often come with warranties ranging from 30 years to a lifetime, offering better protection and longevity. Their robust design makes them more resistant to wind, hail, and other environmental factors.
Cost
Dimensional shingles are more expensive than 3-tab shingles due to their enhanced durability and aesthetic appeal. However, their longer lifespan and better performance can make them a cost-effective choice in the long run.
Key Differences Between 3-Tab Shingles and Dimensional Shingles
Aesthetic Appeal
- 3-Tab Shingles: Offer a flat, uniform appearance.
- Dimensional Shingles: Provide a varied, textured look that can mimic high-end materials.
Durability
- 3-Tab Shingles: Generally less durable, with a lifespan of 20-30 years.
- Dimensional Shingles: More durable, with warranties of 30 years to a lifetime.
Cost
- 3-Tab Shingles: More affordable upfront.
- Dimensional Shingles: Higher initial cost but potentially more cost-effective over time due to their longevity.
Which Style Of Shingle Should I Choose?
Choosing between 3-tab and dimensional shingles depends on your budget, aesthetic preferences, and long-term roofing goals. 3-tab shingles offer a cost-effective solution with a simple, uniform look, while dimensional shingles provide enhanced durability and a more textured appearance. By understanding the differences, you can select the best option to protect and beautify your home.
Shingle Questions
1. Can I replace 3-tab shingles with dimensional shingles? Yes, you can replace 3-tab shingles with dimensional shingles. Consult with a roofing professional to ensure proper installation and compatibility with your existing roof structure.
2. Are dimensional shingles worth the extra cost? Dimensional shingles can be worth the extra cost due to their longer lifespan, enhanced durability, and improved aesthetic appeal.
3. How do I maintain my shingles? Regular maintenance includes inspecting for damage, cleaning debris from the roof, and ensuring proper ventilation. Hiring a professional for periodic inspections can also extend the lifespan of your shingles.
Sometimes it comes down to personal preference
Both 3-tab and dimensional shingles have their unique benefits and considerations. Assessing your specific needs and consulting with a roofing expert can help you make the best decision for your home, ensuring a sturdy and attractive roof for years to come.
Fixing Your Fascia Boards Correctly Can Be Complicated
The Hidden Complexities of Fascia Repairs: Why You Need a Roofing Specialist
Fascia boards, often overlooked in home maintenance, play a vital role in the roofing system. These boards, situated along the lower edge of the roof, not only support the guttering but also protect the interior of the home from weather damage. While fascia repairs might seem straightforward, they are often more complex than anticipated. This article explores why fascia repairs require professional expertise and the common challenges encountered by roofing specialists.
What Are Fascia Boards?
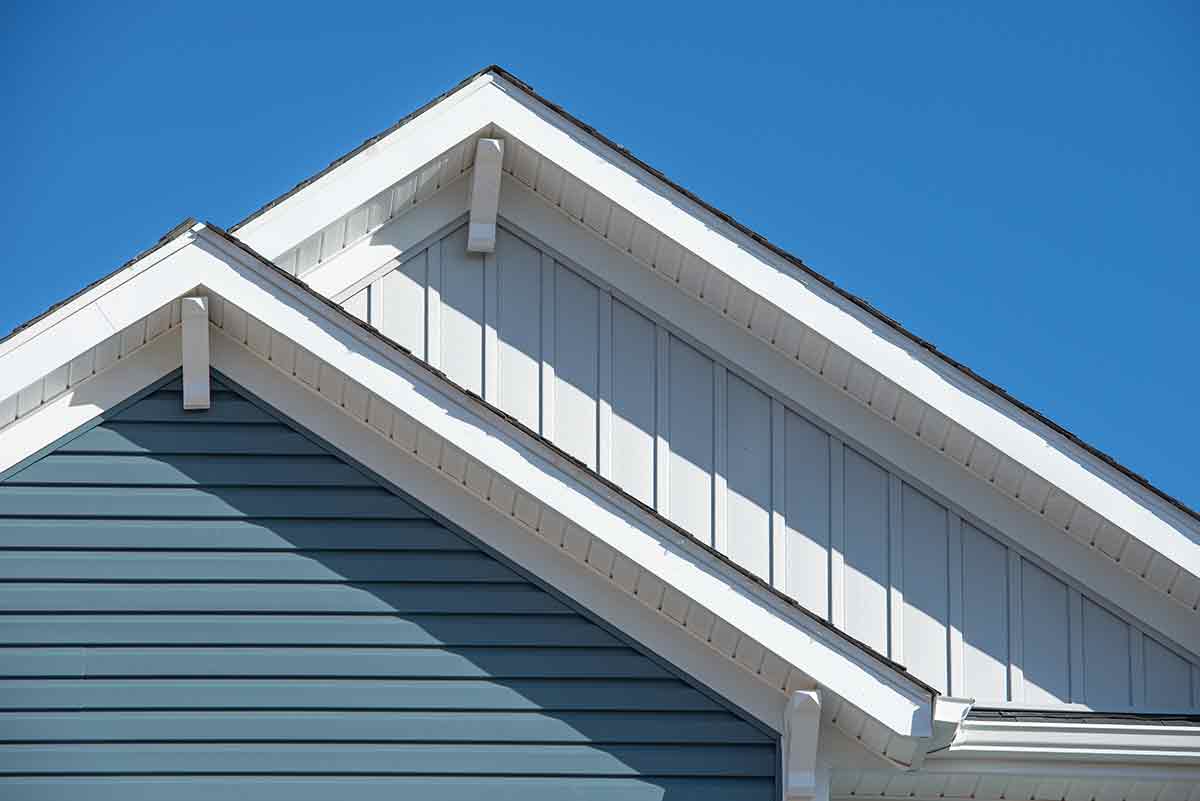
Fascia boards are the horizontal panels that run along the edge of the roof. They serve several essential functions:
- Supporting Gutters: Fascia boards provide a sturdy base for attaching gutters, which channel rainwater away from the home.
- Protecting Roof Edges: They help shield the roof’s edge from water infiltration and damage.
- Aesthetic Enhancement: Fascia boards contribute to the home’s exterior appearance, giving a finished look.
Common Issues with Fascia Boards
Fascia boards face constant exposure to the elements, leading to various issues over time:
- Wood Rot: Moisture can cause wooden fascias to rot, especially in damp climates.
- Pest Infestations: Termites and other pests can damage wooden fascia boards.
- Cracking and Warping: Temperature changes can lead to cracking and warping, affecting the board’s integrity.
- Peeling Paint: Over time, paint can peel off, leaving the wood exposed and vulnerable.
The Complexities of Fascia Repairs
1. Accurate Damage Assessment
One of the primary challenges in fascia repair is accurately assessing the extent of the damage. What appears to be a minor issue on the surface can often indicate more severe underlying problems. Roofing specialists must conduct thorough inspections to identify all affected areas and plan the repair accordingly.
2. Ensuring Structural Integrity
Fascia boards are crucial for maintaining the structural integrity of the roof. Repairing or replacing them involves ensuring that the new boards are correctly aligned and securely fastened. This process often requires working at heights and handling heavy materials, making it both dangerous and labor-intensive.
3. Matching Materials and Aesthetics
Homeowners typically want repairs to blend seamlessly with the existing structure. In older homes, matching the original materials can be particularly challenging. Roofing specialists must source appropriate materials that match in both appearance and durability, ensuring the repair does not detract from the home’s aesthetic appeal.
4. Gutter System Integration
Gutters are usually attached to the fascia boards. Repairing or replacing the fascias often means detaching and reattaching the gutters, which must be done carefully to avoid damaging them. Ensuring proper alignment and functionality of the gutter system adds another layer of complexity to the repair process.
5. Weather Constraints
Fascia repairs often need to be carried out in suitable weather conditions to ensure proper installation and curing of any sealants or paints used. Adverse weather can delay repairs and may necessitate temporary solutions until conditions improve, complicating the repair timeline.
6. Addressing Hidden Damage
Frequently, visible damage to the fascia is just the tip of the iceberg. Water infiltration can cause damage to roof decking, rafters, and even interior walls. Roofing specialists must be prepared to address these hidden issues, which can significantly expand the scope and cost of the repairs.
Why You Need a Roofing Specialist
Given the complexities involved in fascia repairs, it is crucial to hire a professional roofing specialist. Experienced specialists have the skills, tools, and knowledge to:
- Conduct thorough inspections and accurate damage assessments.
- Ensure the structural integrity of the roofing system.
- Source and match appropriate materials.
- Properly integrate the gutter system with the fascia.
- Handle repairs efficiently and safely, even in challenging conditions.
When You Want To Fix It Yourself
Fascia repairs are far more complex than they might initially seem. From diagnosing hidden damage to ensuring structural integrity and dealing with gutter systems, there are numerous challenges that require professional expertise. If you are a do-it-yourselfer, make sure you recognize the importance of these repairs. When in doubt consider hiring experienced roofing specialists to ensure the job is done correctly. By doing so, they can preserve the integrity and appearance of their home, avoiding more significant issues down the line.
Understanding the intricacies of fascia repairs underscores the value of professional roofing services. Homeowners can make informed decisions about maintaining their property, ensuring long-lasting protection and aesthetic appeal.

